Set the basic parameters of the application.
DatabaseIt is possible to relocate, make a copy of it (backup), and restore the corrupted database - that is the file that stores the collection's data - from a prior backup. The current location of the database appears for information.
Relocation
The user has the option to move the database to another folder or even to another drive as well. This operation may take place if the database has grown over the storage space available in its current location.
The user may need to move the database if he does not want to store the database on his computer. This may be needed for security reasons as an example. If he carries his laptop frequently and does not want his valuable data to be lost if the machine is stolen, he can keep the database in a separate pen drive. The pen drive can be kept separately in a safe place. Before starting the application, the user has to insert it into the computer, and also to ensure that it gets the same drive letter from the operating system.
Backup
It is worth to take care of security backup. After a computer crash any saved data can easily be recovered. To save the data, it is advisable to put the backup on another hard drive or pen drive. Entering larger amounts of data is a good occasion to create a backup. The user must enter a directory in which the application saves the data.
Restore from backup
If for any reason it becomes necessary, the user can restore previously saved database to the current database location. The data entered between the time of the backup and restoration is lost unfortunately.
With this method, data received from someone else can be read. First, the user has to make a backup of his database. Make a "restore" from the new database. This this the user will see the content of the new database instead of the old one. When the user has finished his activities in the new database, he can restore the old database from a backup. (If the used has changed the new database meanwhile, he must not forget to back up that also.)
The dialog box 'Set list view' will be displayed. Here the user can set which data of the individual coins to be displayed in the list window. The Name, Version, and the Year/Date will always be displayed, in addition the user can select the fields to appear in the list from what appears in this dialog box. The selected fields are stored by the program, and keeps it in the next subsequent starts.
Set the listing order
In the list window, click on the header of the appropriate column. The displayed items will be listed in alphabetically sorted according to the selected column. Once again, click on the same field and the items will be listed in reverse alphabetical.
Each collection can have its own display setting. The window arrangement has three types:
Enable magnifying glass for detailed view of images. Detailed view of certain part of pictures can be viewed without switching to the Image panel.
Date format: enable two dates, from - to (e. g. paper money collections) or only one date for issue
Date format: enable month and day along with the date (e. g. paper money collections), or only year (e.g coins, medals)
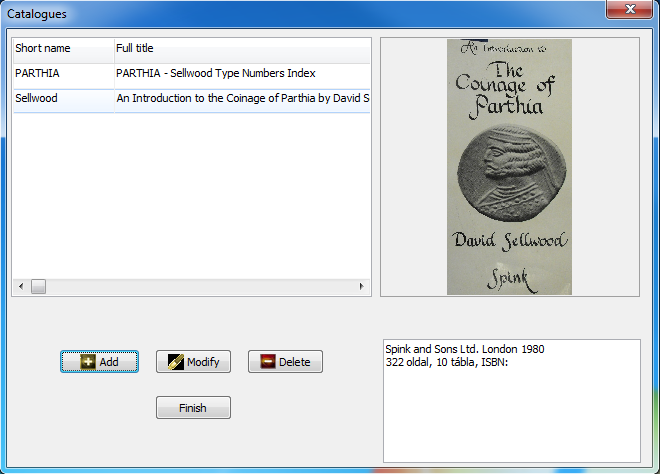
Here the user can enter data of frequently used catalogues.
New catalogues can be added to the kit by pressing the Add button. The Edit button is used to edit the existing catalogue data. The Delete button is for removing the existing catalogue. When removing, if the user has coins assigned to the catalogue, the program asks if he surely wants to remove it. If the user removes a catalog all registration will disappear, which belong to this catalogue, so use it with caution.
When the user adds a new catalog, or modifies an existing one the following window will appear:
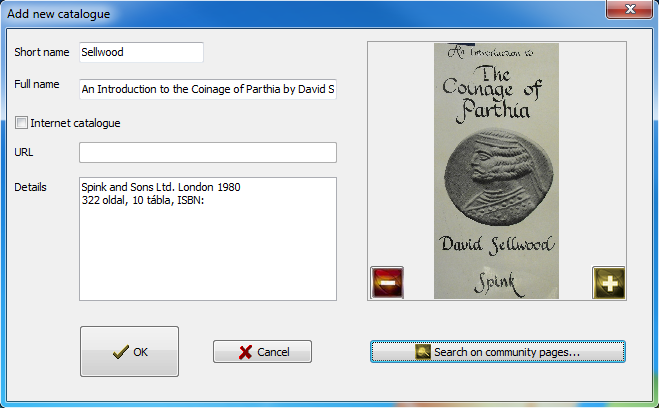
In the case of book based catalogues the Short name, Full name, the Details and a cover image can be set. The short name must be unique, it will be used to identify the catalog.
In the case of on-line catalogues set the Internet catalogue check box and set the URL field to the root address of the Web catalogue. So not the individual medals addresses, only just the root element. This specified URL can then be used to reach the entire catalogue.
With the Search on the social network... button basic data of some commonly used catalogues is available from the social network site that can be downloaded into the user's database by one-click. For those who are new to using catalogues, it is definitely worth a try.